
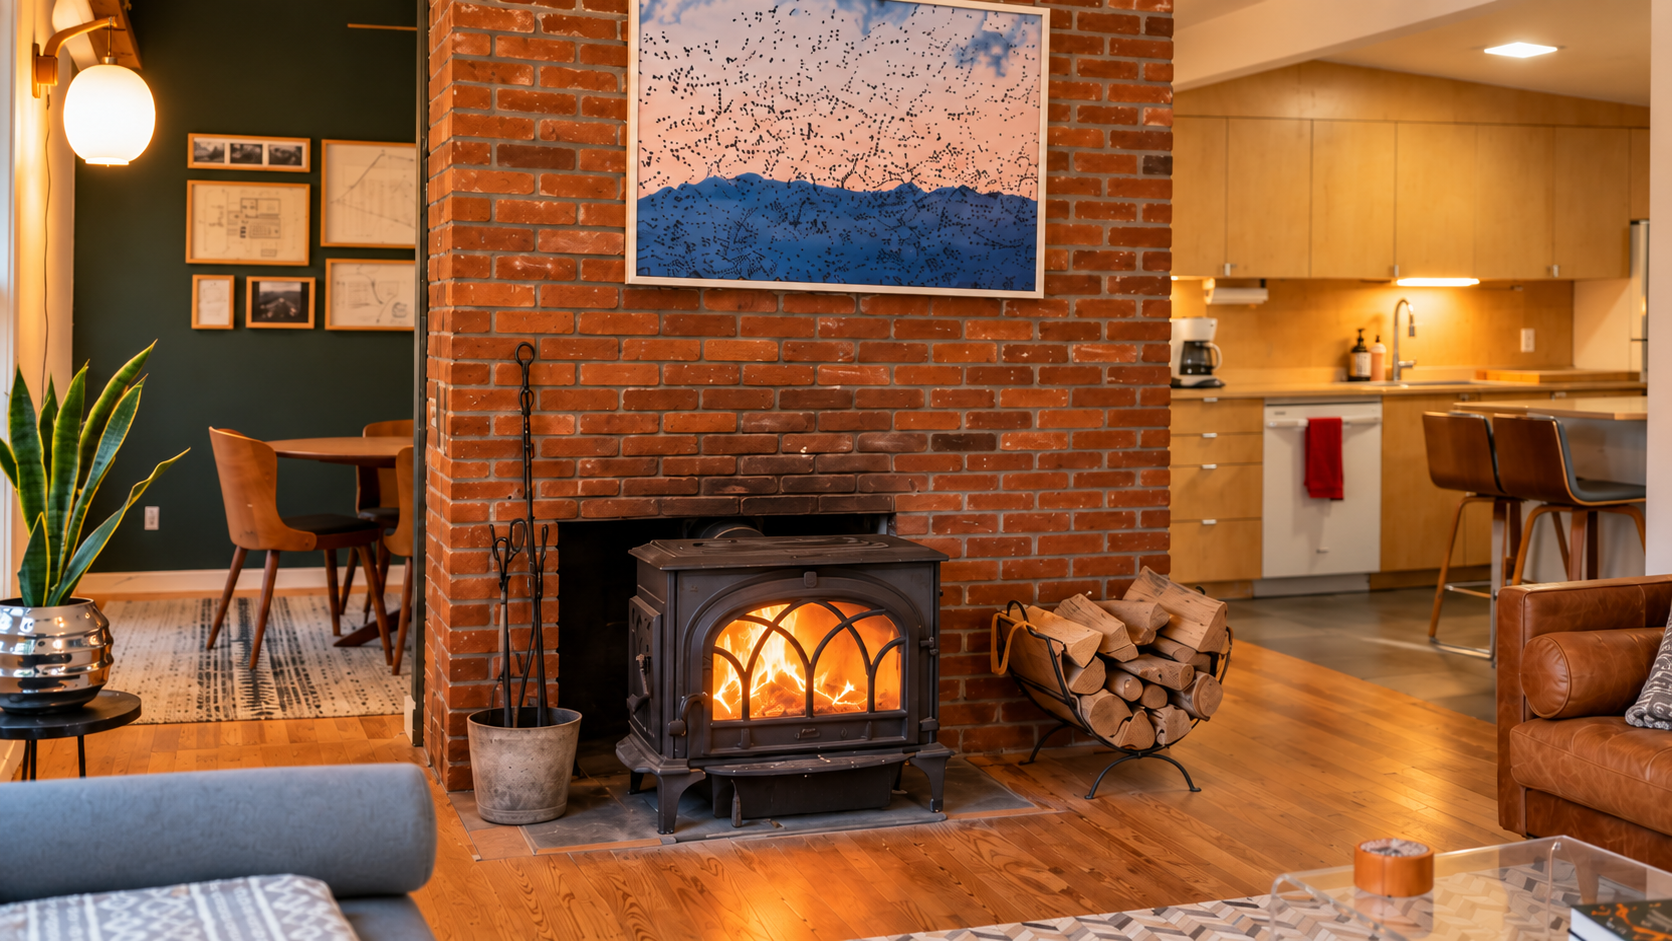
A wood-burning stove can make a vacation rental feel especially warm and inviting. It can also be unfamiliar if you have never operated one before.
The good news is that starting a fire does not need to be complicated. The key is to begin small, provide plenty of airflow and wait for a strong flame before adding more wood.
Wood stoves have different controls, so always review the instructions provided beside the stove before lighting it. This guide explains the basic process that most traditional wood-burning stoves share.
Before You Begin
Make sure you have:
- Dry, seasoned firewood
- Dry kindling or an approved fire starter
- A working long lighter
- Fireplace gloves
- The property’s stove-specific instructions
Keep furniture, clothing, bags and other combustible items at least three feet from the stove. Children and pets should remain outside this area as well.
Never use gasoline, lighter fluid, kerosene, alcohol or any other flammable liquid to start or revive a fire.
Step 1: Open the Air Control
Before lighting anything, locate the stove’s primary air control. Depending on the stove, this may be a lever, slider or knob.
Move it to the fully open position. A new fire needs plenty of oxygen to establish a strong flame and begin warming the chimney.
Some installations may also have a separate flue damper. Follow the instructions posted beside the stove, and never close a flue damper while a fire is actively burning.
If you are unsure which control to use, stop and watch the stove-specific video below or contact the host.
Step 2: Start With a Small Fire
Place an approved fire starter or a small amount of dry kindling in the center of the firebox.
Arrange several pieces of kindling loosely around or above it, leaving space between the pieces so air can circulate. Add only one or two small pieces of firewood at this stage.
Do not fill the stove with large logs before the fire is established. Too much wood can block airflow, smother the flame and create smoke.
Step 3: Light the Fire
Use the long lighter to ignite the fire starter or kindling.
Close and securely latch the stove door unless the instructions for that particular stove direct otherwise. Never leave the ash-pan door open to make the fire burn faster.
Allow the initial fire to burn with the air control fully open. You should begin seeing a steady, active flame.
Step 4: Wait Before Adding More Wood
This is the step most often rushed.
Wait until the kindling and first pieces of wood are burning strongly and a small bed of glowing coals has begun to form. The fire needs time to warm the stove and establish a proper chimney draft.
Adding several large logs too early can smother the fire. If the flame is weak, do not solve the problem by piling on more wood. Give it more air and more time.
Step 5: Add One Log at a Time
Once a strong flame and small coal bed are established, carefully open the stove door.
Open the door slowly to reduce the chance of smoke entering the room. Use the fireplace gloves and add one appropriately sized log, keeping it away from the stove’s glass.
Close and latch the door. Allow the new log to ignite fully before considering whether another is necessary.
A wood stove does not need to be packed full to provide heat. A smaller, active fire is generally preferable to an overloaded, smoky one.
Step 6: Gradually Reduce the Airflow
Once the newly added wood is burning strongly, gradually reduce the primary airflow according to the stove-specific instructions.
Do not immediately move the control from fully open to its lowest setting. Reduce it in stages while watching the fire.
The goal is a steady, visible flame—not a roaring, uncontrolled fire and not a smoky smolder.
If the flames disappear, the glass quickly becomes dark or the fire begins producing excessive smoke, the fire may need more air.
Adding Wood Later
Before adding another log:
- Open the air control fully.
- Wait briefly for the fire and chimney draft to strengthen.
- Open the stove door slowly.
- Add one log.
- Close and latch the door.
- Wait for the new log to ignite before reducing the airflow again.
Avoid repeatedly opening the door or loading several logs at once.
What Not to Burn
Only burn the dry firewood provided or approved by the host.
Never burn:
- Trash
- Cardboard packaging
- Plastic
- Painted or pressure-treated lumber
- Plywood or manufactured wood
- Glossy or colored paper
- Wet or green wood
- Flammable liquids
- Charcoal or other fuels not approved for the stove
These materials can produce toxic fumes, excessive smoke, damaging heat or dangerous chimney buildup.
How to Let the Fire Go Out
To finish using the stove, stop adding wood and allow the existing fire to burn down naturally with the stove doors securely closed.
Do not pour water into the stove. Sudden cooling can damage stove components and may spread hot ash.
Guests should not remove or dispose of ashes. Even when ashes appear cool, hidden embers can remain hot for an extended period. Please leave ash removal to the property’s cleaning or maintenance team.
If Smoke Enters the Room
Make sure the stove door is fully closed and securely latched, then contact the host for assistance.
If a smoke or carbon-monoxide alarm activates, smoke continues filling the room, or you feel unsafe, leave the property and call emergency services from a safe location. Never silence or disable an alarm.
How to Use a Buck Stove Model 21
The Buck Stove Model 21 has its own air-control arrangement. The video below will demonstrate:
- The location of the primary air control
- The fully open starting position
- How to arrange the fire starter, kindling and initial wood
- When to add another log
- How and when to reduce the airflow
- How to let the fire die naturally
YouTube video placeholder
How to Start and Maintain a Fire in a Buck Stove Model 21
The completed video and YouTube link will be embedded here.
How to Use a 2008 Jøtul F 500 Oslo
The 2008 Jøtul F 500 Oslo is a non-catalytic wood stove.
For this stove:
- Move the primary air-control lever fully to the right when starting or reviving the fire.
- Gradually move the lever toward the left to reduce airflow after the fire is established.
- Build the fire directly on the stove hearth; do not use a separate grate.
- Never operate the stove with the ash-pan door open.
- Keep the loading doors closed except when lighting or adding wood.
YouTube video placeholder
How to Start and Maintain a Fire in a 2008 Jøtul F 500 Oslo
The completed video and YouTube link will be embedded here.
The Most Important Things to Remember
A successful wood-stove fire comes down to four simple principles:
- Open the airflow before starting.
- Begin with a small, loosely arranged fire.
- Wait for a strong flame before adding more wood.
- Add wood gradually rather than filling the stove.
When in doubt, stop and review the stove-specific video or contact the host. A little patience at the beginning produces a warmer, cleaner and more enjoyable fire.
Safety note: Every wood stove and chimney installation is different. Follow the manufacturer’s instructions, the directions provided at the property and all local fire-safety requirements.


Leave a Reply